Understanding the principles of Redux helps us use it better. This article implements the functionality of react-redux.

In the previous article, a simple Redux was implemented, mainly focusing on its API. This article will implement a simple react-redux.
For the complete code of this article, please check Github: https://github.com/YanYuanFE/redux-app
// clone repo
git clone https://github.com/YanYuanFE/redux-app.git


cd redux-app

// checkout branch
git checkout part-4

// install
npm install

// start
npm start
When developing applications with React, props are usually used for data transfer between components. However, when your application has deeply nested component hierarchies, if you need to pass data from the root component to the innermost component, you may need to manually pass the required props down through each layer. At this point, you need the context API provided by React.
The React official documentation does not recommend using the context API because it is an experimental API that may change in future versions of React. So far, the latest version of React 16 has changed the context API.
Despite the official warning, there are still scenarios where context is needed. A good practice is to isolate the context code into a small section and avoid directly using the context API, making it easier to upgrade when the API changes in the future. This is also the approach taken by react-redux.
Usage of Context#
Consider the following code:
const PropTypes = require('prop-types');

class Button extends React.Component {
  render() {
    return (
      <button style={{background: this.context.color}}>
        {this.props.children}
      </button>
    );
  }
}

Button.contextTypes = {
  color: PropTypes.string
};

class Message extends React.Component {
  render() {
    return (
      <div>
        {this.props.text} <Button>Delete</Button>
      </div>
    );
  }
}

class MessageList extends React.Component {
  getChildContext() {
    return {color: "purple"};
  }

  render() {
    const children = this.props.messages.map((message) =>
      <Message text={message.text} />
    );
    return <div>{children}</div>;
  }
}

MessageList.childContextTypes = {
  color: PropTypes.string
};
The above code contains three components, with the top-level component MessageList containing multiple Message components, each of which includes a Button component. If you need to pass the color property from the top-level MessageList component to the Button component, you need to manually pass the color property through props to Message and then from Message to the Button component. The above code uses the Context API to achieve this. First, a context provider is needed, which in this case is MessageList. The MessageList component needs to add the getChildContext method and childContextTypes as per the official API. The getChildContext method is used to return the global context object, and childContextTypes is used to define the types of context properties. React will automatically pass the context parameters down, and any component that is a child can access the context parameters by defining ContextTypes.
Updating Context#
The React official documentation has now deprecated the API for updating context. To update the context data, you can use this.setState to update the local state, and when the state or props update, getChildContext will be called automatically. This will generate a new context, and all child components will receive the update.
Consider the following code:
const PropTypes = require('prop-types');

class MediaQuery extends React.Component {
  constructor(props) {
    super(props);
    this.state = {type:'desktop'};
  }

  getChildContext() {
    return {type: this.state.type};
  }

  componentDidMount() {
    const checkMediaQuery = () => {
      const type = window.matchMedia("(min-width: 1025px)").matches ? 'desktop' : 'mobile';
      if (type !== this.state.type) {
        this.setState({type});
      }
    };

    window.addEventListener('resize', checkMediaQuery);
    checkMediaQuery();
  }

  render() {
    return this.props.children;
  }
}

MediaQuery.childContextTypes = {
  type: PropTypes.string
};
In getChildContext, a context object is returned with the value of this.state.type. When you need to update the context, call this.setState to update the state. After the state updates, getChildContext will automatically execute to return the new context.
Implementation of react-redux#
Implementation of Provider#
In the previous article, the usage of react-redux was introduced. The main APIs of react-redux include connect and Provider. First, let's look at the implementation of Provider.
Review the usage of Provider.
import { Provider } from 'react-redux';

ReactDOM.render(
  <Provider store={store}>
    <App/>
  </Provider>,
  document.getElementById('root')
);
From the above code, we can see that Provider is a component that wraps the root component of the application and receives a store prop. In react-redux, the Provider component provides context.
Continuing from the previous article's project, create a new file react-redux.js in the src directory and first declare the Provider component.
import React from 'react';
import PropTypes from 'prop-types';

export class Provider extends React.Component {

}
The Provider component does not have its own UI rendering logic; it only handles the context logic.
export class Provider extends React.Component {
  static childContextType = {
    store: PropTypes.object
  }
  constructor(props, context) {
    super(props, context)

    this.store = props.store

  }
  render() {

    return this.props.children

  }
}
At this step, the static method childContextTypes defines the type of the context property store as an object. In the constructor, props and context are passed in, and this.store is defined and assigned to props.store. This way, anywhere in Provider, this.store can be used to access the store property from props.
Since Provider does not handle UI rendering, the render method simply returns this.props.children, which returns the child components.
Finally, in Provider, we also need to add the getChildContext method to provide context.
export class Provider extends React.Component {
  static childContextTypes = {
    store: PropTypes.object
  }
  getChildContext() {
    return {store: this.store}
  }
  constructor(props, context) {
    super(props, context)
    this.store = props.store
  }
  render() {
    return this.props.children
  }
}
In getChildContext, a context object is generated, where the context is this.store, allowing child components to access the context.
Implementation of connect#
In react-redux, connect is responsible for connecting components, accepting a component as a parameter, passing properties from the store into the component's props, and returning a new component. This component design pattern is called a higher-order component. When data changes, connect will notify the component to update.
Review the usage of connect.
const mapStateToProps = (state, ownProps) => ({
  active: ownProps.filter === state.visibilityFilter
})

const mapDispatchToProps = (dispatch, ownProps) => ({
  onClick: () => {
    dispatch(setVisibilityFilter(ownProps.filter))
  }
})

const FilterLink = connect(
  mapStateToProps,
  mapDispatchToProps
)(Link)
Connect is first defined as a higher-order function. In react-redux.js, first define the connect method:
export const connect = (mapStateToProps = state => state, mapDispatchToProps={}) => (WrapComponent) => {
    return class ConectComponent extends React.Component {
    }
}
Connect is a two-layer arrow function. The first layer takes mapStateToProps and mapDispatchToProps as parameters. These two parameters are optional and need to define initial values. mapStateToProps is defined as a function, while mapDispatchToProps can take various forms, either as a function or an object, with the default being an empty object. The connect method should ultimately return a component. In the second layer function, a component is passed as a parameter and a new component is returned. The above code can be rewritten as follows:
export function connect(mapStateToProps, mapDispatchToProps) {
  return function (wrapComponent) {
    return class ConnectComponent extends React.Component {

    }
  }
}
This makes it clearer; connect first executes the outer layer to return a function, then passes a component, executes the innermost layer, and returns a component.
Inside the returned component, context needs to be accessed, as shown in the code below:
static contextTypes = {
  store: PropTypes.object
}
Next is the implementation of the constructor:
constructor(props, context) {
  super(props, context);
  this.state = {
    props: {}
  }
}
In the constructor, a props property is defined as state, initialized as an empty object. Props will be passed to wrapComponent.
In the render function:
render() {
  return <WrapComponent {...this.state.props}/>
}
In the render function, state.props is destructured and passed to the props property of WrapComponent. Of course, state.props is not that simple; it also needs to inject data from mapStateToProps and mapDispatchToProps.
In componentDidMount, the code is as follows:
componentDidMount() {
  const { store } = this.context;
  store.subscribe(() => this.update());
  this.update();
}
In the above code, the store is first obtained from the context, and then the update method is called to update the state. Similarly, the store.subscribe method is called with the updated method of the store, which will call the update method when the store updates. The update method is as follows:
update() {
  const { store } = this.context;
  const stateProps = mapStateToProps(store.getState());

  this.setState({
    props: {
      ...this.state.props,
      ...stateProps,
    }
  })
}
In the update method, the store is first obtained from the context. The data that needs to be connected is divided into two parts. The first part maps the data from the state to the props by calling the first parameter of connect, mapStateToProps, and passing in store.getState(), which is the global state. Then, the stateProps object is obtained for passing into props. The state is updated using this.setState, and the object spread syntax is used to merge the new and old states.
The above only implements the mapping of state data; the mapping of methods is also needed. Mapping data is relatively simple, while methods cannot be used directly because they need to call store.dispatch. Here, a bindActionCreators method needs to be implemented in Redux, called as follows:
import { bindActionCreators } from './redux';

const dispatchProps = bindActionCreators(mapDispatchToProps, store.dispatch);
bindActionCreators is used to pass store.dispatch into the function, allowing the function to dispatch internally when called.
In the redux.js file in the src directory, implement the bindActionCreators method:
export function bindActionCreators(creators, dispatch) {
  let bound = {};
  Object.keys(creators).forEach(v => {
    let creator = creators[v];
    bound[v] = bindActionCreator(creator, dispatch);
  })
  return bound;
}
In the bindActionCreators method, the second parameter mapDispatchToProps is defined as creators, which is an object. Each method in creators needs to be wrapped with dispatch. Object.keys returns an array of the object's enumerable properties, and then the array is looped through. For each index in the array, the corresponding method is taken and bindActionCreator is called to return a new method wrapped with dispatch, which is assembled into a new object bound and returned, keeping the key unchanged.
Next, implement bindActionCreator:
function bindActionCreator(creator, dispatch) {
  return (...args) => dispatch(creator(...args))
}
In the bindActionCreator method, a new function is returned using a higher-order function. The original function creator is wrapped with dispatch, and the rest parameters ...args are passed through to the wrapped function. This ensures that the parameters can be passed to the innermost layer.
At this point, the two parts of data for connect have been implemented. Below is the complete update method:
update() {
  const { store } = this.context;
  const stateProps = mapStateToProps(store.getState());

  const dispatchProps = bindActionCreators(mapDispatchToProps, store.dispatch);

  this.setState({
    props: {
      ...this.state.props,
      ...stateProps,
      ...dispatchProps,
    }
  })
}
In the final update method, both stateProps and dispatchProps are updated into state.props, so that every time the data updates, the child components can be notified for synchronization.
Now, the basic functionality of react-redux has been implemented. Below is the complete react-redux code:
import React from 'react';
import PropTypes from 'prop-types';
import { bindActionCreators } from './redux';

export const connect = (mapStateToProps = state => state, mapDispatchToProps={}) => (WrapComponent) => {
  return class ConectComponent extends React.Component {
    static contextTypes = {
      store: PropTypes.object
    }

    constructor(props, context) {
      super(props, context);
      this.state = {
        props: {}
      }
    }
    componentDidMount() {
      const { store } = this.context;
      store.subscribe(() => this.update());
      this.update();
    }
    update() {
      const { store } = this.context;

      const stateProps = mapStateToProps(store.getState());

      const dispatchProps = bindActionCreators(mapDispatchToProps, store.dispatch);

      this.setState({
        props: {
          ...this.state.props,
          ...stateProps,
          ...dispatchProps,
        }
      })
    }
    render() {
      return <WrapComponent {...this.state.props}/>
    }
  }
}

export class Provider extends React.Component {
  static childContextTypes = {
    store: PropTypes.object
  }
  getChildContext() {
    return {store: this.store}
  }
  constructor(props, context) {
    super(props, context);
    this.store = props.store;
  }
  render() {
    return this.props.children
  }
}
Using react-redux to Rewrite the Counter Application#
In the previous articles, a simple counter application was implemented using the custom Redux. Now it will be rewritten using react-redux:
App.js is as follows:
import React, { Component } from 'react';
import { connect } from './react-redux';
import Counter from './components/Counter';
import logo from './logo.svg';
import './App.css';

class App extends Component {
  render() {
    const { onIncrement, onDecrement, counter } = this.props;

    return (
      <div className="App">
        <header className="App-header">
          <img src={logo} className="App-logo" alt="logo" />
          <h1 className="App-title">Welcome to React</h1>
        </header>
        <p className="App-intro">
          To get started, edit <code>src/App.js</code> and save to reload.
        </p>
        <Counter
          value={counter}
          onIncrement={onIncrement}
          onDecrement={onDecrement}
        />
      </div>
    );
  }
}

const mapStateToProps = (state) => ({
  counter: state
});

function onIncrement() {
  return { type: 'INCREMENT' }
}

function onDecrement() {
  return { type: 'DECREMENT' }
}

const mapDispatchToProps = {
  onIncrement,
  onDecrement
};

export default connect(mapStateToProps, mapDispatchToProps)(App);
Note that since the connect in react-redux only considers the case where mapDispatchToProps is an object, but it can actually support both objects and functions as parameters, so here it needs to be set in object form.
The index.js code is as follows:
import React from 'react';
import ReactDOM from 'react-dom';
import { Provider } from './react-redux';
import './index.css';
import App from './App';
import { createStore } from './redux';
import counter from './reducers';

const store = createStore(counter);

ReactDOM.render(
  <Provider store={store}>
    <App/>
  </Provider>,
  document.getElementById('root')
);
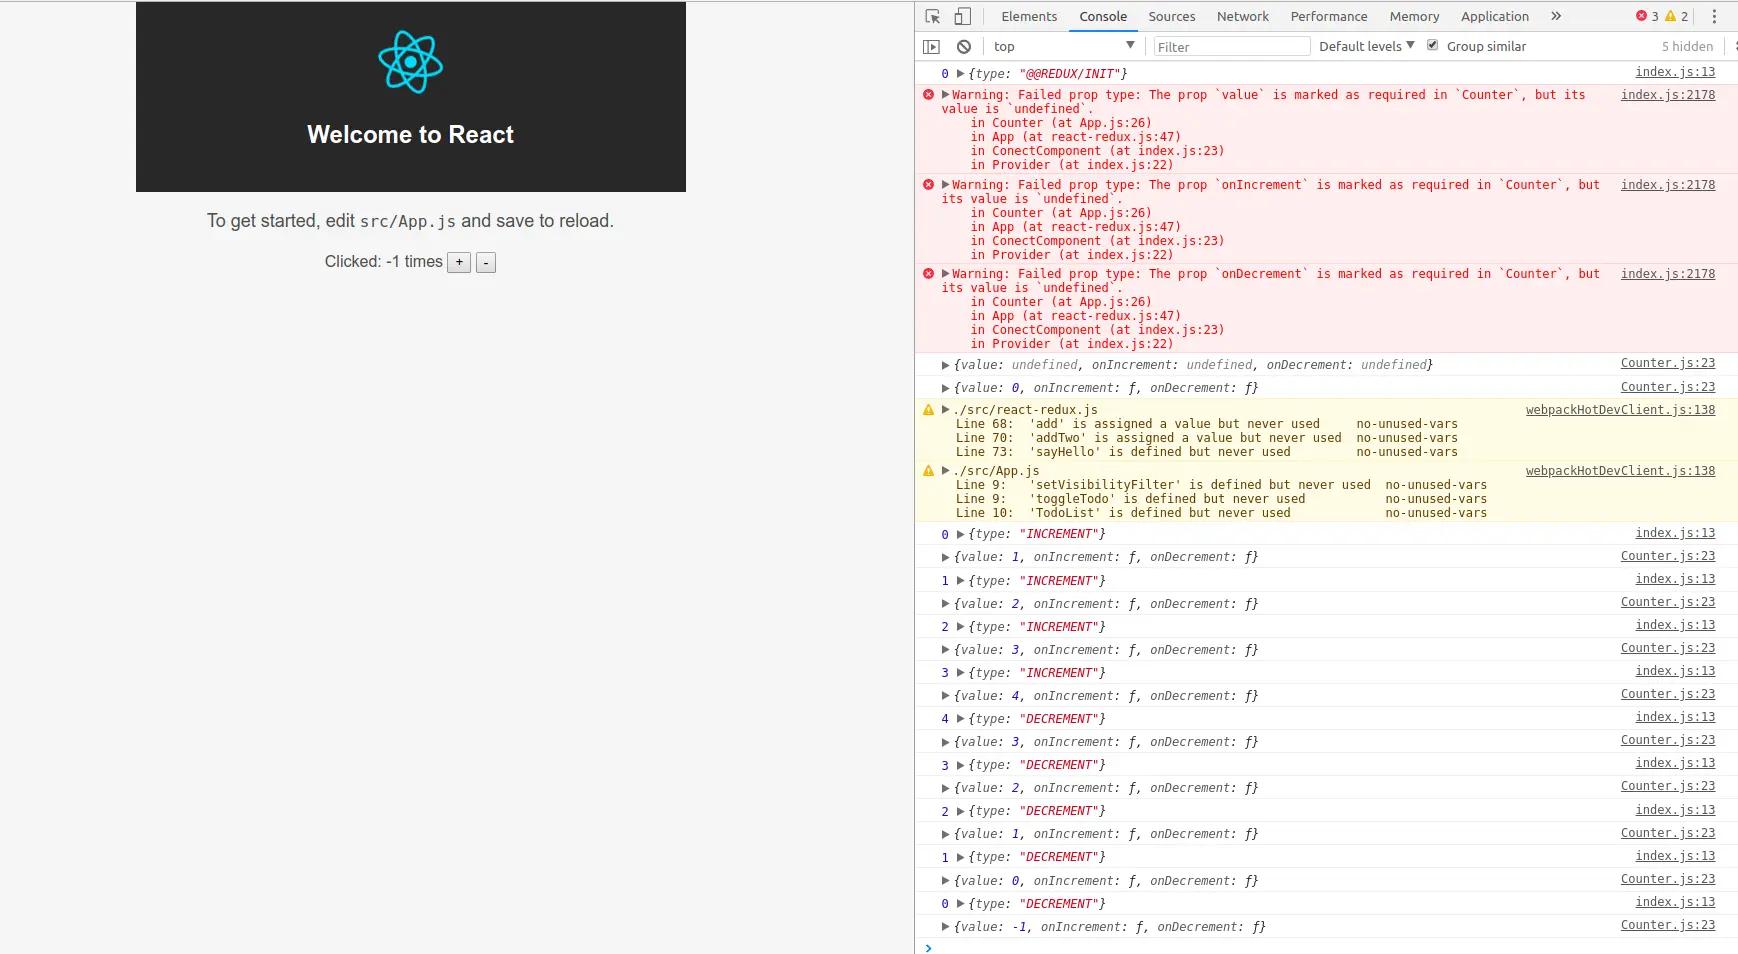
Finally, run the project with npm start, and open the browser interface as follows. Perform operations, and it meets the expected results: