It provides a third-party extension point between dispatching an
action, and the moment it reaches the reducer. --- 中间件

本文完整代码请查看 Github:https://github.com/YanYuanFE/redux-app
// clone repo
git clone https://github.com/YanYuanFE/redux-app.git


cd redux-app

// checkout branch
git checkout part-5

// install
npm install

// start
npm start
当我们的业务需求变得更为复杂的时候,单纯的在 dispatch 和 reducer 中处理业务逻辑已经不具有普遍性。我们需要的是可以组合的,自由插拔的插件机制,redux 借鉴 koa 的中间件思想,实现了 redux 的 middleware。在发出 action 和执行 reducer 之间,使用中间件函数对 store.dispatch 进行改造,所以,redux 的 middleware 是为了增强 dispatch 而生的。
回顾中间件的使用方法,这里以,redux-thunk 中间件为例,为之前的计数器添加一个延迟计数的功能,即点击按钮两秒后进行加 1 操作,redux 和 react-redux 使用官方实现的,下面是改造后的代码:
首先是计数器组件,src 下 components 目录下,Counter.js 中,代码如下:
import React, { Component } from 'react';
import PropTypes from 'prop-types';

class Counter extends Component {
  constructor(props) {
    super(props);

  }


  render() {
    const { value, onIncrement, onDecrement, incrementAsync } = this.props;
    console.log(this.props);
    return (
        <p>
        Clicked: {value} times
        {' '}
        <button onClick={onIncrement}>
        +
        </button>
        {' '}
        <button onClick={onDecrement}>
        -
        </button>
        {' '}
        <button onClick={incrementAsync}>
        Increment async
        </button>
        </p>
    )
  }
}


Counter.propTypes = {
    value: PropTypes.number.isRequired,
    onIncrement: PropTypes.func.isRequired,
    onDecrement: PropTypes.func.isRequired,
    incrementAsync: PropTypes.func.isRequired
};

export default Counter;
上述代码中,添加了用于异步加 1 的按钮,点击触发 props 中的 incrementAsync 方法。
下面是 src 下 App.js 的代码:
import React, { Component } from 'react';
import { connect } from 'react-redux';
import Counter from './components/Counter';
import logo from './logo.svg';
import './App.css';

class App extends Component {
  render() {
    const { onIncrement, onDecrement, counter, incrementAsync } = this.props;

    return (
      <div className="App">
        <header className="App-header">
          <img src={logo} className="App-logo" alt="logo" />
          <h1 className="App-title">Welcome to React</h1>
        </header>
        <p className="App-intro">
          To get started, edit <code>src/App.js</code> and save to reload.
        </p>
        <Counter
          value={counter}
          onIncrement={onIncrement}
          onDecrement={onDecrement}
          incrementAsync={incrementAsync}
        />
      </div>
    );
  }
}

const mapStateToProps = (state) => ({
  counter: state
});

function onIncrement() {
  return { type: 'INCREMENT' }
}

function onDecrement() {
  return { type: 'DECREMENT' }
}

function incrementAsync() {
  return dispatch => {
    setTimeout(() => {
      dispatch(onIncrement());
    }, 2000)
  }
}

const mapDispatchToProps = {
  onIncrement,
  onDecrement,
  incrementAsync
};

export default connect(mapStateToProps, mapDispatchToProps)(App);
相比上一篇文章,主要定义了 incrementAsync 方法,然后添加到 mapDispatch 中,在 incrementSync 中,返回一个函数,在函数内部执行异步操作发起 action,普通的 action 都是一个对象的形式,但是异步的 action 返回的是一个 function,处理这种情况就需要使用 redux 的中间件:redux-thunk。
下面是 src 下 index.js 的代码:
import React from 'react';
import ReactDOM from 'react-dom';
import thunk from 'redux-thunk';
import { Provider } from 'react-redux';
import './index.css';
import App from './App';
import {applyMiddleware, createStore} from 'redux';
import counter from './reducers';

const store = createStore(counter, applyMiddleware(thunk));

ReactDOM.render(
  <Provider store={store}>
    <App/>
  </Provider>,
  document.getElementById('root')
);
在 index.js 中,引入 react-thunk 模块,然后在 createStore 中传入第二个参数,使用 redux 的 API applymiddleware 对 chunk 中间件进行包裹。
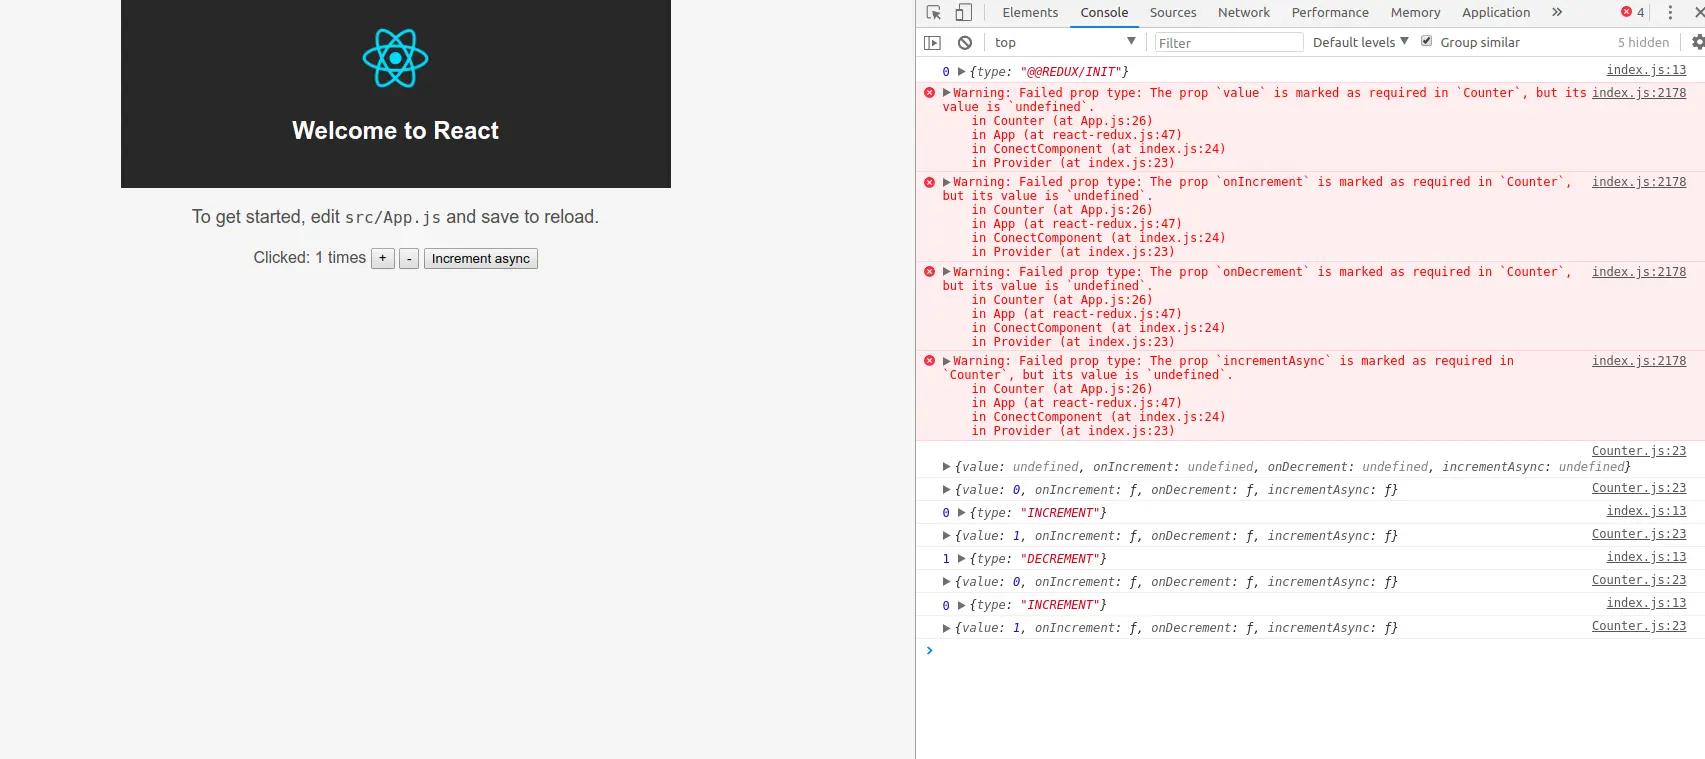
上述就是改进后的计数器,运行项目在浏览器预览下,点击 incrementAsync 按钮,达到预期效果。如下图:

applyMiddleware 实现#
applyMiddleware 是 redux 提供的用于使用中间件的 API,回顾 applyMiddleware 的使用:
const store = createStore(counter, applyMiddleware(logger, thunk));
applyMiddleware 接收多个中间件参数,返回值作为第二个参数传入 createStore。
在 src 下 redux.js 文件中,首先让原来的 createStore 支持传入第二个参数,代码如下:
export function createStore(reducer, enhancer) {
  if (enhancer) {
    return enhancer(createStore)(reducer);
  }
}
在 createStore 中传入第二个参数 enhancer,enhancer 即调用 applyMiddleware 包装中间件的函数,然后判断 enhancer 是否存在,存在即调用 enhancer 传入 createStore 和 reducer 两个参数,由此,applyMiddleware 应该是一个高阶函数,返回一个新的函数。
下面暴露 applyMiddleware 方法。redux 的 middleware 是支持多个中间件的,此处先实现支持一个中间件的用法。
export function applyMiddleware(middleware) {
  return createStore => (...args) => {
    const store = createStore(...args);
    let dispatch = store.dispatch;

    const midApi = {
      getState: store.getState,
      dispatch: (...args) => dispatch(...args)
    }
    dispatch = middleware(midApi)(store.dispatch)
    return {
      ...store,
      dispatch
    }
  }
}
applyMiddleware 的结构是一个多层柯里化的函数,第一层函数执行后返回一个函数,这个函数即 createStore 函数中的参数 enhancer,然后这个函数传入 createStore 参数,再返回一个函数,这个函数传入 reducer 参数,使用...args 进行解构,在函数内部,首先调用 createStore 获取到原始的 store 以及 dispatch,然后封装一个对象 midApi 传入中间件内部,midApi 包括两个方法 getState 和 dispatch,getState 对应 store.getState 方法,dispatch 对应 store.dispatch 方法并透传参数。下面是一个日志中间件的代码:
const logger = store => next => action => {
 console.log('dispatching', action);
 let result = next(action);
 console.log('next state', store.getState());
 return result;
};
由此可见,中间件函数是一个层层包裹的匿名函数,第一层传入 store,第二层传入 next 下一个中间件,此处指 store.dispatch,第三层是在组件中进行调用时,传入 action。logger 中间件在 applyMiddleware 中被层层调用,动态的对 store 和 next 参数赋值。
接着看上面 applyMiddleware 的代码,定义了一个由 getState 和 dispatch 组成的闭包 midApi,中间件函数 middleware 第一次调用传入 midApi 返回一个匿名函数,如下:
next => action => {
 console.log('dispatching', action);
 let result = next(action);
 console.log('next state', store.getState());
 return result;
};
紧接着对匿名函数再次调用,传入 store.dispatch 作为参数 next,再次返回一个匿名函数,如下:
action => {
 console.log('dispatching', action);
 let result = next(action);
 console.log('next state', store.getState());
 return result;
};
通过对 middleware 的层层调用来生成一个新的 dispatch 方法,新的 dispatch
对 store 原有的 dispatch 方法进行了增强,最后返回一个对象,使用解构赋值将增强的 dispatch 覆盖原有的 store.dispatch,成为一个新的 store。最终,在组件中发起 dispatch 的时候使用的就是新的 dispatch 方法。
到这里,已经让 redux 支持中间件的用法了,现在来使用一下,还是使用上面项目中的计数器案例,将 redux 和 react-redux 替换为自己编写的文件,redux-thunk 不变,运行项目,依次点击三个按钮,达到预期效果。

编写 redux-thunk 中间件#
上面已经让我们的 redux 支持使用中间件,下面来尝试自己编写一个 thunk 中间件。在 src 下新建 thunk.js:
const thunk = ({dispatch, getState}) => next => action => {

  return next(action)
}

export default thunk;
一个中间件的结构如上,一个三层箭头函数,第一个参数传入 midApi,这里解构出 dispatch 和 getState 方法方便使用,第二个参数传入下一个中间件,即 store.dispatch,第三个参数传入需要提交的 action。在中间件函数中,如果什么都不做,直接返回 next(action),即直接 dispatch action。当然,这样做并没有什么用,下面为它加上 thunk 的代码:
const thunk = ({dispatch, getState}) => next => action => {
  // 如果是函数,执行一下
  if (typeof action === 'function') {
    return action(dispatch, getState);
  }
  return next(action)
}

export default thunk;
这就是 redux-thunk 的代码,很简单吧,首先判断传入的 action 是否为 fuction,如果是 function 就执行该 action,并传入 dispatch 和 getState, 如下,在 incrementAsync 的返回函数的参数中,可以接受 dispatch 和 getState 两个参数:
function incrementAsync() {
  return (dispatch, getState) => {
    setTimeout(() => {
      dispatch(onIncrement());
    }, 2000)
  }
}
下面来验证一下实现的 thunk 中间件,在 src 下替换 redux-thunk 为./thunk。在浏览器依次点击三个按钮,结果如下,达到预期效果。